

MossX.vscode-cc-gui.
Prerequisites
- Visual Studio Code 1.85 or later
- Access to the VS Code Marketplace
Install from the Marketplace
1
Open the Extensions view
Click Extensions in the VS Code Activity Bar, or press
Cmd+Shift+X (Windows / Linux: Ctrl+Shift+X).2
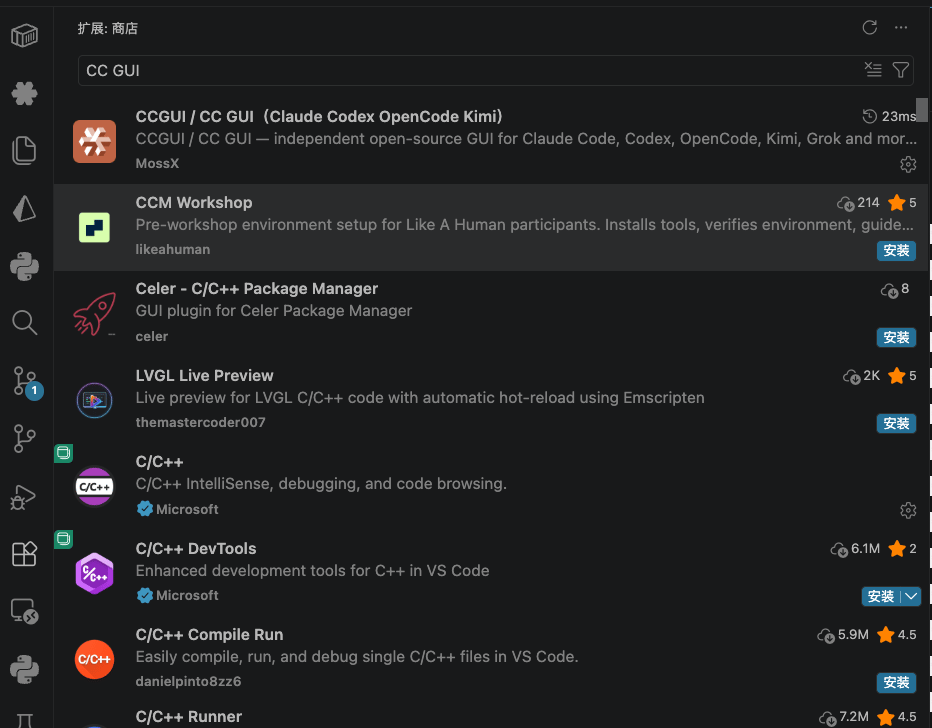
Search for CCGUI
Type
CCGUI or CC GUI in the search box. The full display name is CCGUI / CC GUI(Claude Codex OpenCode Kimi), and the publisher is MossX.3
Install
Click Install and wait for VS Code to download and activate the extension.
4
Open CC GUI
Click the CC GUI icon in the Activity Bar, or run CC GUI: Open CC GUI from the Command Palette.
Confirm the install
After install you should see:- A CC GUI icon in the Activity Bar
- A set of commands when you type
CC GUIin the Command Palette - An entry on the right side of the editor title bar that opens the panel