

@openai/codex-sdk. Config is written to ~/.codex/. You can also authorize reading files you already have locally.
Install the Codex SDK in Settings → SDK dependencies first. If the install is incomplete (CLI integrity is missing), the status stays Not installed.
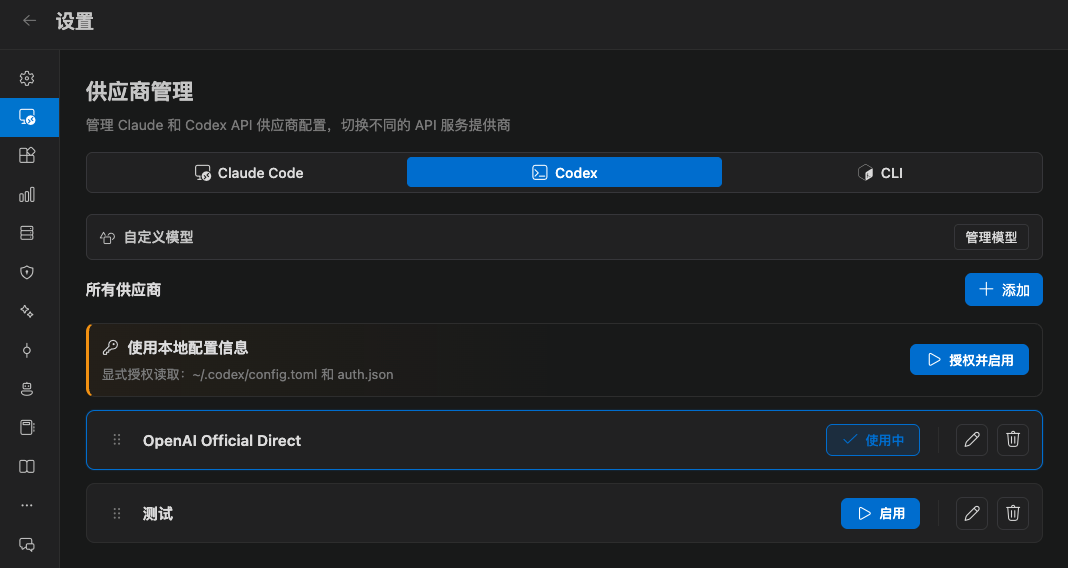
Ways to connect
Add a provider
Click Add provider and fill in a name and config JSON. The UI edits two blocks:- config:
model_provider,model,model_providers, and similar fields - auth: auth fields such as
OPENAI_API_KEY
https://api.openai.com.
Saving writes to ~/.codex/ immediately.
Authorize local config
If you already use the Codex CLI in a terminal:- Run
codex loginin a terminal and confirm you can ask a question - In CC GUI, authorize reading
~/.codex/config.tomlandauth.json - Restart VS Code
Custom models and environment variables
Each Codex provider can add models:- Model ID is required. Letters, numbers, dots, hyphens, underscores, slashes, and colons are allowed
- Display name and description are optional
- You can set a context window separately (unit: K tokens)
A variable name must start with a letter or underscore. Built-in protected variables cannot be overwritten.
How this differs from Claude
For everyday code changes, use Default or Agent. If you want a plan before files change, switch to Claude Code plan mode.