> ## Documentation Index
> Fetch the complete documentation index at: https://docs.mossx.ai/llms.txt
> Use this file to discover all available pages before exploring further.
# 下載安裝
> 從 GitHub Releases 安裝 CC GUI 客戶端。
CC GUI 客戶端以獨立桌面應用釋出,應用名是 **ccgui**,倉庫是 [desktop-cc-gui](https://github.com/zhukunpenglinyutong/desktop-cc-gui)。
## 前提條件
* macOS 10.13+ / Windows 10+(含 WebView2)/ 較新的 Linux 發行版
* 能訪問 [GitHub Releases](https://github.com/zhukunpenglinyutong/desktop-cc-gui/releases)
* 真正開始對話前,需要至少一個可用的 AI runtime(Claude、Codex、Kimi、Grok、OpenCode、Pi 或 DeepSeek Harness)
## 下載安裝包
去 Releases 頁面下載對應平臺的安裝包:
| 平臺 | 安裝包 |
| -------------------- | --------------- |
| macOS(Apple Silicon) | `aarch64.dmg` |
| macOS(Intel) | `x64.dmg` |
| Windows | `.exe`(NSIS)安裝包 |
| Linux | `.AppImage` |
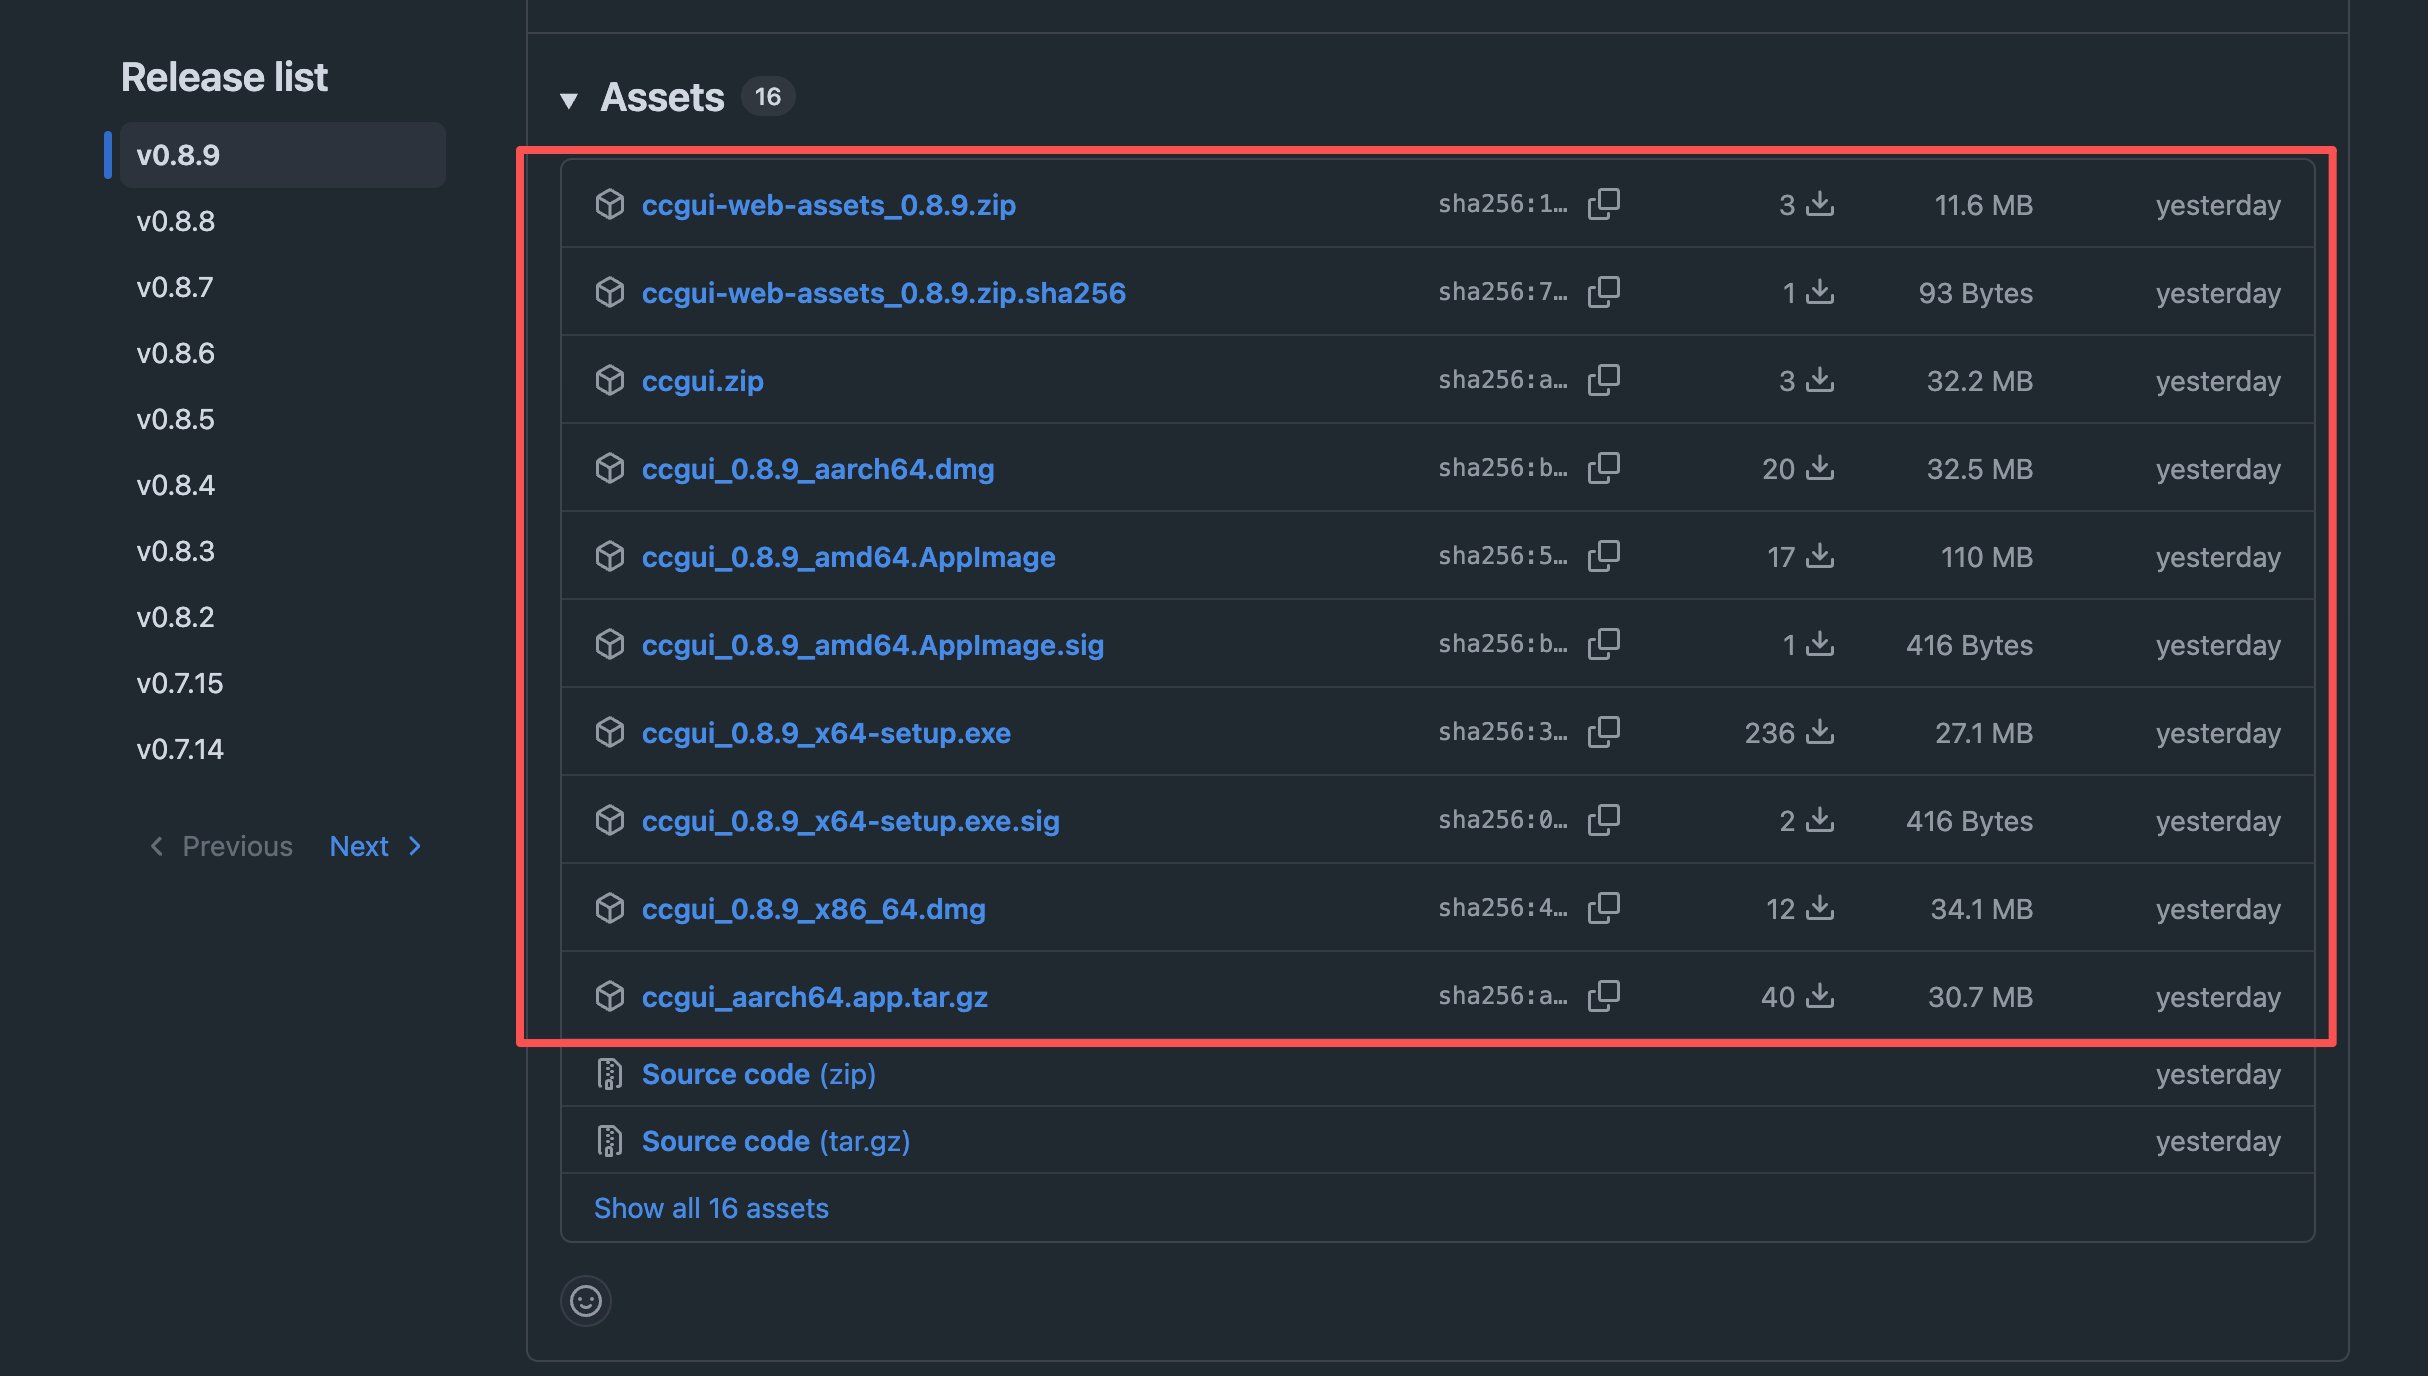 安裝包地址:
[https://github.com/zhukunpenglinyutong/desktop-cc-gui/releases](https://github.com/zhukunpenglinyutong/desktop-cc-gui/releases)
## 安裝步驟
1. 開啟 `.dmg`
2. 把 **ccgui** 拖進 **Applications**
3. 從啟動臺或 Applications 開啟
1. 執行 NSIS `.exe` 安裝包
2. 按嚮導完成安裝
3. 從開始選單開啟 **ccgui**
1. 給 AppImage 加執行許可權:`chmod +x *.AppImage`
2. 雙擊或在終端執行
## 確認安裝成功
開啟後你會看到:
* 首頁 / 工作區選擇介面
* 可進入設定配置供應商
* 版本號可在設定或關於資訊裡檢視
客戶端支援應用內自動更新。有新版本時會提示下載安裝。
## 下一步
安裝只把應用裝到本機。要真正發出訊息,繼續 [準備環境](/zh-Hant/desktop/start/setup):檢查 runtime、配供應商,並新增一個專案資料夾。
安裝包地址:
[https://github.com/zhukunpenglinyutong/desktop-cc-gui/releases](https://github.com/zhukunpenglinyutong/desktop-cc-gui/releases)
## 安裝步驟
1. 開啟 `.dmg`
2. 把 **ccgui** 拖進 **Applications**
3. 從啟動臺或 Applications 開啟
1. 執行 NSIS `.exe` 安裝包
2. 按嚮導完成安裝
3. 從開始選單開啟 **ccgui**
1. 給 AppImage 加執行許可權:`chmod +x *.AppImage`
2. 雙擊或在終端執行
## 確認安裝成功
開啟後你會看到:
* 首頁 / 工作區選擇介面
* 可進入設定配置供應商
* 版本號可在設定或關於資訊裡檢視
客戶端支援應用內自動更新。有新版本時會提示下載安裝。
## 下一步
安裝只把應用裝到本機。要真正發出訊息,繼續 [準備環境](/zh-Hant/desktop/start/setup):檢查 runtime、配供應商,並新增一個專案資料夾。